Raspberry Pi Plexiglass Case
Contents
I recently got my hands on the new Raspberry Pi single-board Linux computer, however it comes as a bare board with no case. I wanted to make a case for it which was both simple to construct and attractive to look at. Obviously you can jump over to ebay and buy one of the many laser/CNC cut cases available, but I like to remain in the spirit of the hacker community and make my own.
I recorded the whole build process as video, so you can simply watch the following video for details of how the case was made
YouTube Video
Design
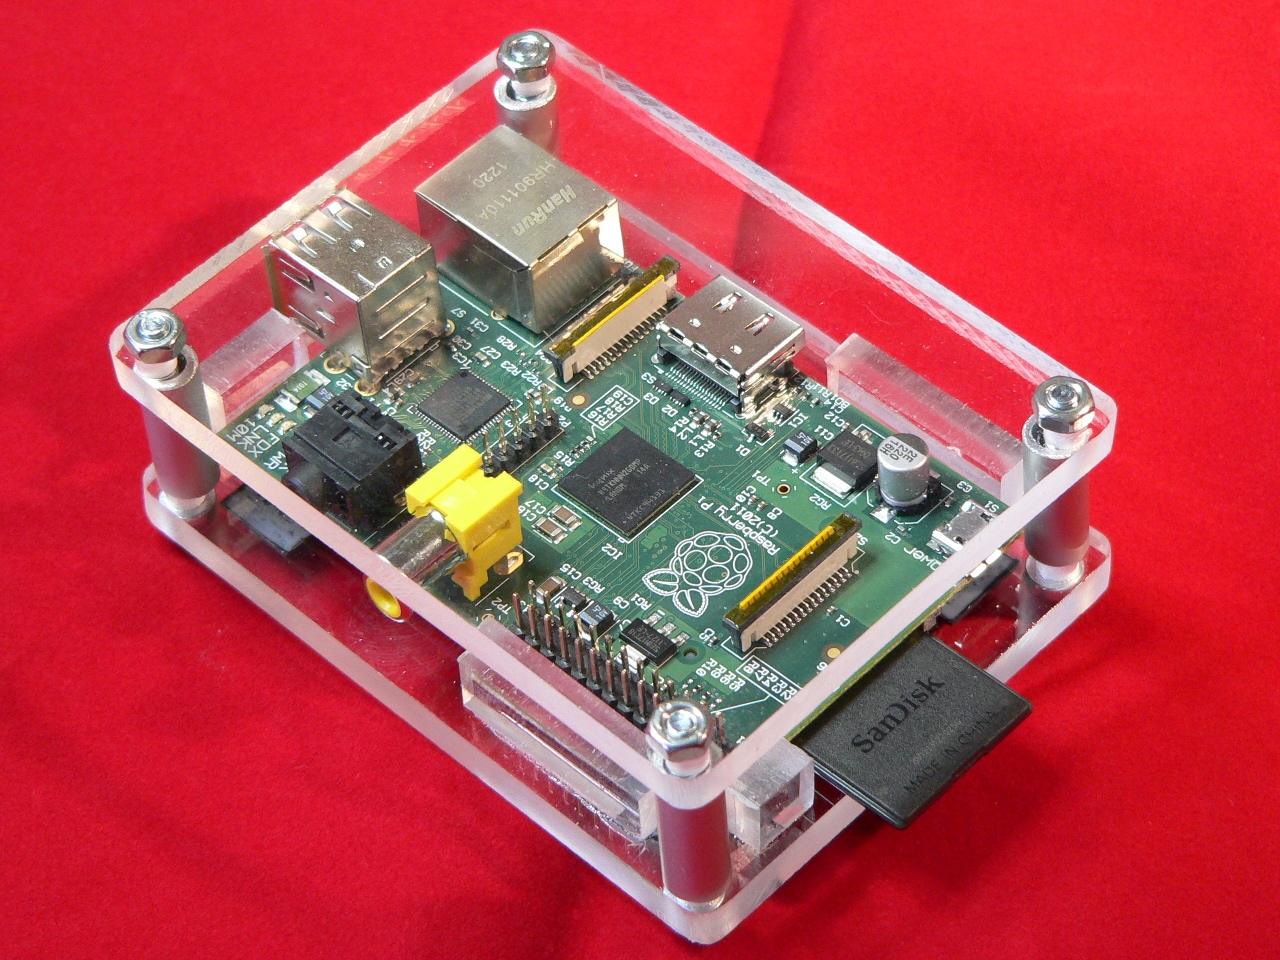
The case is made from a single sheet of plexiglass (acrylic) which is fairly easy to source from local hardware stores. The 8mm stays (which hold the Pi in place) are made from the same sheet. These are 8mm high which prevents them from interfering with the GPIO header on the edge of the board.
The case is open-sided which makes construction very simple. I used aluminium tubing to make the side pillars however ready made metal or plastic spacers would work equally as well.
To smooth the edges of the plexiglass (and give them a ‘frosted’ finish) I used a course file followed by a fine file to remove as much of the markings from cutting as possible. As an extra step you can also use a micro torch and run it quickly over the edge (from a distance of 3-5 cm). If you do this run the flame quickly down the side of the panel, allow to cool and then repeat until the side is smooth enough. You have to be very careful not to over heat the plastic as it will bubble and/or burn. Plexiglass, like most plastics, is flammable, so you should do the smoothing outside if possible.
The case in the video was made with 6mm thick plexiglass which is easy to work with as it doesn’t shatter easily. I have also made the same case using 4mm plexiglass (which I think looks a little ‘cleaner’ and lean) but is more difficult to cut. The choice is yours, since the board needs 20mm clearance using 6mm plexiglass gives a total thickness of 32mm which means a 35mm screw just about fits leaving little of the thread poking out.
Material cost
Most of the expense was for the sheet of plexiglass which isn’t cheap here in Sweden (70 SEK or about 10 USD). The aluminium tube was a further 50 SEK (7 USD) – but you get a whole metre and it’s useful for lots of things. Including the nuts and bolts it works out at around 18 USD, but Sweden is the 2nd most expensive place to live in the EU, so you may have better luck… 🙂
Conclusion
Having made the case a couple of times now I think it is pretty easy to reproduce. If you want any extra information or think I’ve missed out something important, let me know in the comments and I will update this article accordingly.